Planck Through Hole Kit Build log
The Planck Through Hole Kit
The Planck Through Hole Kit (THK) was announced by Jack Humbert on the /r/olkb subreddit on 2018.10.01.
The hardware was released under GPLv3 with the intention to be accessible to everyone.
The original QMK pull request never got merged and documentation/information about the board is scarce.
As QMK is a pretty fast-moving project, the original code for the keyboard did not build with new QMK.
I first heard about this keyboard when a community member tried to flash his board and asked for help.
Sadly, I was not able to work out all the things without having access to the hardware and my ambition to make it work again had to be put on hold.
Until Jack was kind enough to send me two unassembled kits.
Now I have the hardware fully working with mainline QMK so I thought I’ll document a process of building and compiling and flashing this board.
Hardware
The gerber files for the PCB and the bottom case can be downloaded from the OLKB GitHub.
That repo also has a nice link to the bill of materials (BOM) for all the components needed for the assembly.
Of course, most can be substituted with similar parts from the local store, dad’s shed or Aliexpress.
As the BOM has the “Schematic Reference” field filled in for all components, building the board is quite easy.
When soldering the LEDs, the cathode (shorter leg) should face the USB port.
The BOM for future reference:
ISP Flashing
The first time, you will need to ISP flash the microcontroller to set the fuses and flash the bootloader.
The QMK ISP flashing quide shows how you can use a spare ProMicro or Teensy as flasher, but I like my cheap USBasp I got off of Aliexpress.
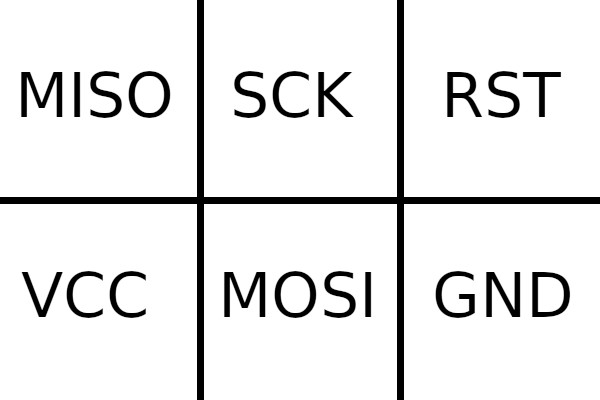
The keyboard has a 6-pin ISP header which makes you think that you can just connect your 6-pin USBasp, but sadly the pins are mirrored on the board.
My recommendation is to use female-to-male dupont cables for the connection.
I set my USBasp to 3.3V, but it should work with 5V as well.
If everything is connected well, the power (red) LED should be on, your computer should recognize the USBasp and the flashing command below should work without any errors.
If you experience any issues, the first thing you check should be the correct pin connections.
Bootloader
Originally, the bootloadHID bootloader was used for the THK as can be seen in the old branch and if someone would want that, the following gist can be of some help.
Personally, I think USBasp is a much nicer one as it can be used with avrdude and other, newer through hole boards use it as well.
As USBasp usually requires two buttons to reset the board, but the THK has only one, I chose a fork that has some nice features, like the ability to boot into bootloder with a reset button.
I have a fork, pre-configured for the THK.
Setting the fuses, compiling and flashing the bootloader is this simple:
[erovia@ws]$ git clone https://github.com/Erovia/planck_thk_usbasploader.git
[erovia@ws]$ cd planck_thk_usbasploader
[erovia@ws]$ make fuse
[erovia@ws]$ make flash
Once done, disconnect the ISP flasher from the keyboard, connect the board to your computer and press the Reset button.
If everything went well, it should be recognized as an USBasp flasher.
Firmware
The firmware currently lives in my QMK fork, but I’ll get it merged upstream, to not repeat history.
The board should be compatible with most Planck and ortho4x12/planck_mit keymaps, but I created a thk one, to showcase its unique features.
[erovia@ws]$ qmk flash -kb planck/thk -km thkCase
Soon…